TLDR: Too Long, Don’t Read
Yes, a leaking ceiling can collapse. When water saturates ceiling materials over time, it adds weight, weakens structural integrity, and can cause a sudden and dangerous failure. The longer a leak goes unaddressed, the greater the risk. Coast View Plumbing & Restoration provides 24/7 emergency water damage response across Greater Los Angeles to stop ceiling leaks before they become catastrophic.
Owning a home comes with its fair share of maintenance challenges, and few are as alarming as the sight of water leaking from your ceiling. What may look like a minor stain or a small drip is often a sign of a deeper problem that, left unchecked, can escalate from a cosmetic nuisance into a serious structural threat.
This brings us to the essential question: can a leaking ceiling collapse? More importantly, what are the leading causes of ceiling water damage, and what warning signs should every homeowner know?
Ceilings are engineered to support a specific load and tolerate low-level moisture exposure. When water begins to accumulate inside ceiling materials over time, it adds significant and compounding weight to the structure. As the materials become saturated, whether drywall, plaster, or wood framing, their strength and structural integrity deteriorate. The added weight can eventually exceed the ceiling’s load-bearing capacity, leading to a sudden and potentially dangerous failure.
If you have been dealing with a ceiling leak for any length of time, identifying and addressing the source as quickly as possible is the most important thing you can do. The longer damp conditions are allowed to persist, the greater the likelihood of a collapse becomes.
Causes of Ceiling Leaks and Ceiling Water Damage
There are several distinct sources of ceiling water damage, and each one requires a different approach to properly diagnose and repair. Understanding the most common causes helps you respond faster and make smarter decisions when something goes wrong in your home.
1. Roof Leaks
If you have water coming through your ceiling, the roof is one of the first places worth investigating. Roof leaks are among the most common causes of ceiling water damage in homes across Greater Los Angeles.
Harsh weather conditions, including heavy rain, high winds, and temperature swings, can cause shingles to crack, shift, or go missing entirely. Once the roof’s protective layer is compromised, water can seep through and travel down through the layers of the roof structure until it reaches the ceiling below. Clogged gutters and downspouts compound the problem by preventing proper drainage and causing water to pool and back up onto the roof surface.
Regular roof inspections, particularly after significant storms, are one of the most effective ways to catch these issues before they cause serious interior damage.
2. Plumbing Leaks
Plumbing lines run throughout the walls and ceilings of virtually every home. When a pipe, joint, or fixture fails in one of these concealed spaces, water has nowhere to go except into the surrounding building materials.
In multi-story homes, a plumbing leak on an upper floor can result in water migrating down through the floor assembly and dripping from the ceiling below. Burst pipes, deteriorated plumbing joints, and failing supply lines for bathrooms, kitchens, and laundry rooms are all common culprits. These leaks can go undetected for weeks or months because they are hidden inside the structure, so it is critical to watch for early warning signs such as water stains, unexplained dampness, sagging ceiling sections, or peeling paint.
At Coast View Plumbing & Restoration, we handle both the plumbing repair and the resulting water damage restoration, so you do not have to coordinate two separate contractors. Our team identifies the source of the leak and remediates all affected materials in a single, managed process.
3. HVAC Condensation
Central air conditioning systems and other HVAC equipment produce a significant amount of condensation during normal operation. This moisture is typically channeled away from the unit through a dedicated drainage line.
When that drainage line becomes clogged or the condensate pan overflows, the excess moisture has to go somewhere. If the unit is located in the attic or above a finished ceiling, that water can saturate surrounding materials and eventually cause visible water damage below. Damp spots near vents, discoloration around ceiling registers, and unexplained moisture in upper areas of the home are all signs that your HVAC system may be contributing to a leak.
Routine HVAC maintenance, including inspecting and clearing condensate drain lines, goes a long way toward preventing this type of damage.
4. Attic Insulation Issues
Proper attic insulation plays a dual role in protecting your home: it maintains comfortable interior temperatures and prevents moisture from building up inside the attic space. When insulation is insufficient, improperly installed, or has degraded over time, both of those functions can fail.
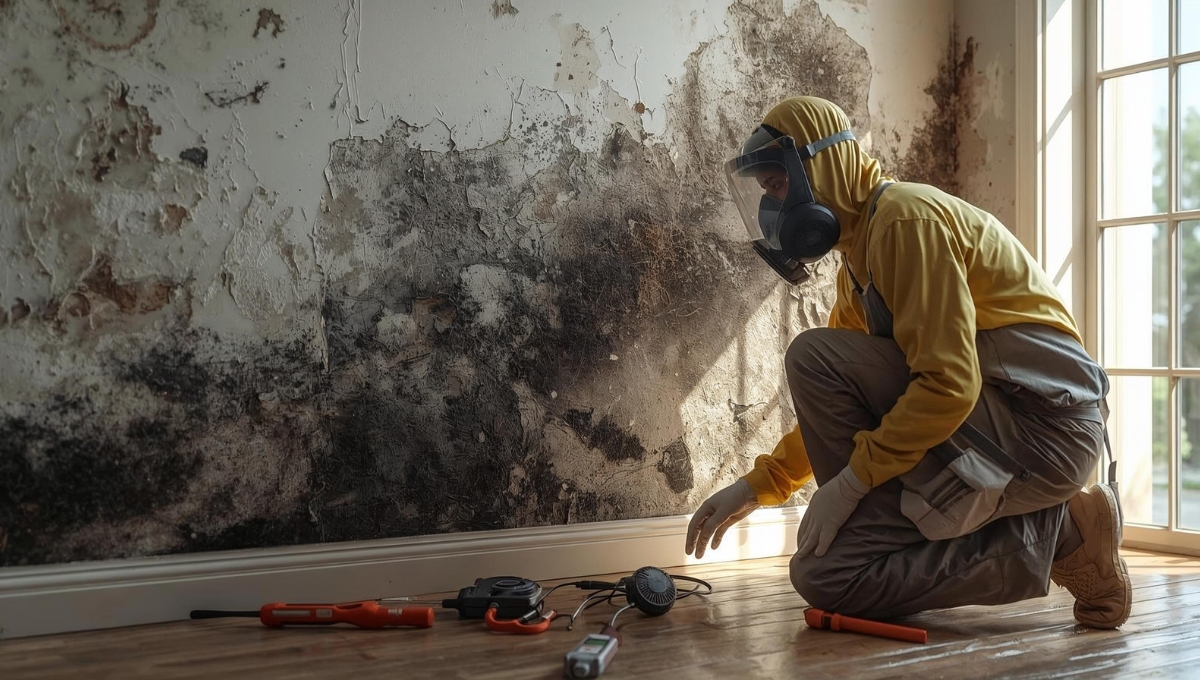
Without adequate insulation, warm and humid air from the living spaces below rises into the attic, where it meets cooler surfaces and condenses. That condensation can drip down onto the attic floor and, over time, penetrate the ceiling below. The result is often water staining, soft or sagging ceiling material, and in chronic cases, mold growth inside the ceiling cavity.
This type of damage is particularly common in older homes and in Southern California properties that were not originally built with cold-weather moisture management in mind. If your ceiling is showing signs of water intrusion but you cannot identify an obvious roof or plumbing source, the attic insulation and ventilation system are worth a careful inspection.
5. Flashing Problems
Roof flashing is the thin waterproof material installed around roof penetrations and transitions, including chimneys, skylights, vents, and the joints where roof sections meet. Its job is to seal these vulnerable points against water infiltration. When flashing is damaged, improperly installed, or has simply aged past its useful life, it fails to keep water out.
Once water bypasses deteriorated flashing, it enters the roof structure and can travel down to the ceiling below. Flashing failures are often caused by severe weather events, poor original installation, or gradual corrosion over time. Because they are not visible from inside the home, flashing problems frequently go unnoticed until the water damage becomes obvious indoors.
Scheduling a professional roof inspection every few years, and always after a major storm, is the best way to catch flashing issues before they lead to costly interior repairs.
Warning Signs Your Ceiling Is at Risk of Collapse
Knowing what to look for can give you the head start you need to prevent a collapse. Contact a professional immediately if you notice any of the following:
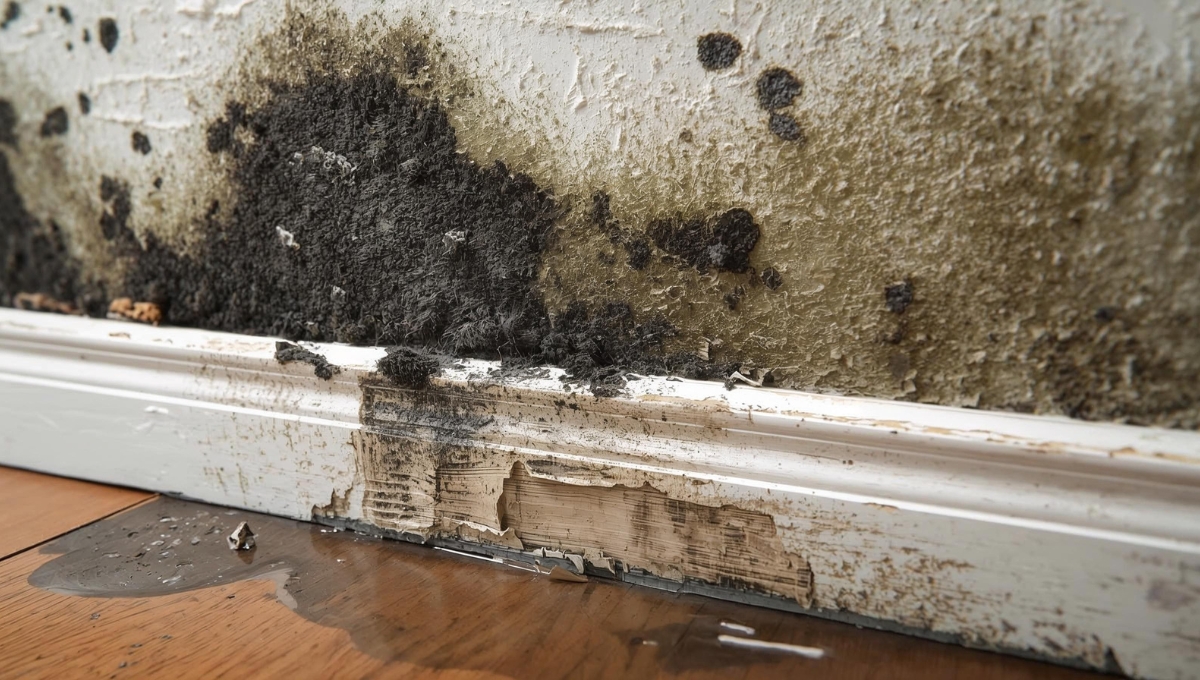
- Water stains or discoloration spreading across the ceiling surface
- A ceiling that is visibly sagging, bowing, or bulging downward
- Paint that is bubbling, peeling, or flaking from the ceiling
- A soft or spongy texture when the ceiling is pressed gently
- Visible cracks running through the ceiling material
- Active dripping or pooling of water during or after rainfall
- A musty odor that suggests hidden moisture or mold growth behind the ceiling surface
Any one of these signs warrants a prompt professional evaluation. Multiple signs together indicate an urgent situation that should not wait.
What To Do If Your Ceiling Is Leaking
When you notice a ceiling leak, the steps you take in the first few hours matter.
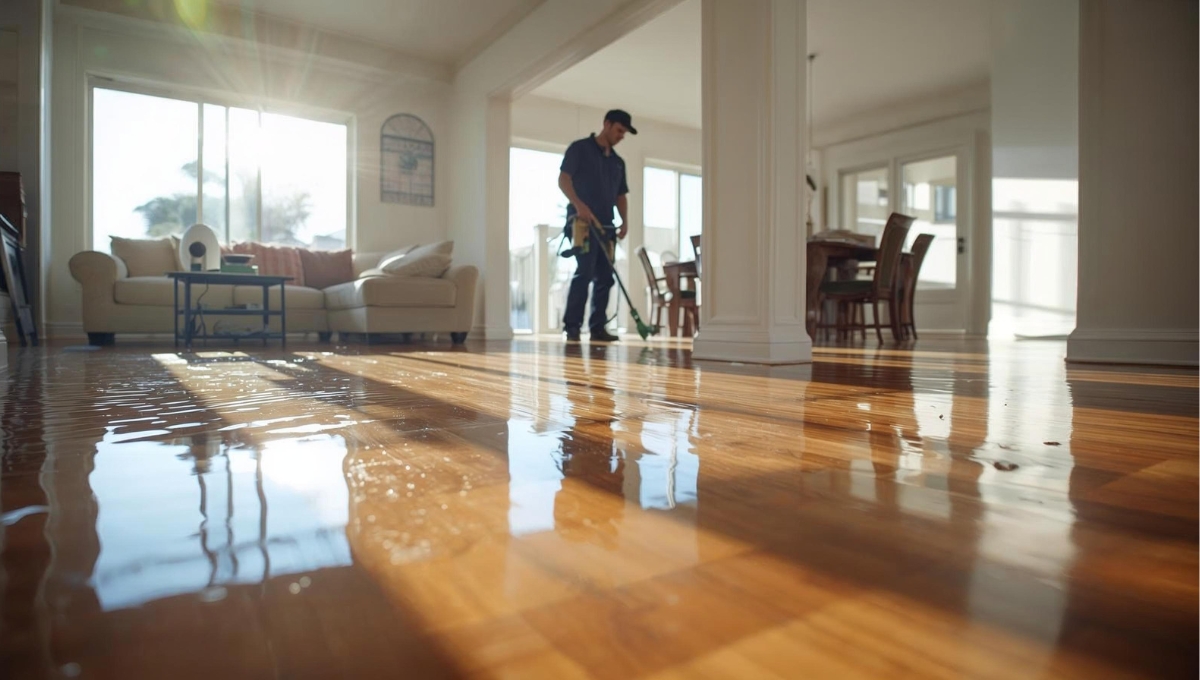
Move furniture, valuables, and electronics away from the affected area immediately. Place containers to catch any active dripping and put down towels or plastic sheeting to protect flooring. If the ceiling is visibly bulging with pooled water behind it, carefully puncture a small hole at the lowest point of the bulge to allow the water to drain in a controlled way rather than waiting for it to collapse on its own.
Do not attempt to access the attic or roof during active rainfall, and do not ignore the problem hoping it resolves on its own. Water damage inside a structure worsens with every passing hour. Call a professional water damage restoration company as soon as the situation is under control enough to do so safely.
Frequently Asked Questions
How much water does it take for a ceiling to collapse?
There is no universal threshold, because it depends on the ceiling material, the age of the structure, and how long the moisture has been present. Drywall absorbs water quickly and can become dangerously heavy within hours of significant saturation. Older plaster ceilings can hold water longer before showing visible signs but may fail suddenly. Any visible sagging should be treated as an urgent warning regardless of how much water appears to be present.
Can a small ceiling leak cause a collapse?
Yes, if it persists long enough. A slow, small leak that goes unaddressed for weeks or months can saturate ceiling materials just as thoroughly as a sudden large leak. The damage accumulates gradually, and the structural weakening happens below the surface before any visible warning signs appear.
Does homeowner’s insurance cover ceiling collapse from water damage?
Coverage depends on your specific policy and the source of the damage. Sudden and accidental water damage, such as from a burst pipe, is generally covered. Damage resulting from long-term neglect or a gradual leak that was not addressed is often excluded. Documenting the damage thoroughly and contacting your insurance carrier quickly gives you the best chance of a favorable outcome. Coast View Plumbing & Restoration works directly with all major insurance carriers and provides complete damage documentation to support your claim.
Coast View Plumbing & Restoration Is Ready to Help
The longer moisture is allowed to persist inside your ceiling, the greater the risk to your property and everyone in it. Addressing ceiling leaks promptly is not optional. It is essential to preventing structural failure, mold growth, and much more expensive repairs down the line.
When a leaking ceiling is threatening your home, Coast View Plumbing & Restoration is available 24 hours a day, 7 days a week across Greater Los Angeles, including San Bernardino, Rancho Cucamonga, Fontana, Pomona, Claremont, Victorville, Apple Valley, Hesperia, Colton, Lucerne Valley, Crestline, Lake Los Angeles, El Mirage, Adelanto, and Lytle Creek.
Our IICRC-certified technicians arrive within 45 minutes of your call, assess the full scope of the damage, and execute a complete remediation plan from water extraction and drying through structural repairs and reconstruction. As a family-owned, BBB-accredited company with over 20 years of experience and CSLB License No: C-36 991276, we deliver the quality and transparency you deserve when your home needs it most.
Do not wait until a small leak becomes a collapsed ceiling. Contact Coast View Plumbing & Restoration today.
Contact Us | View Us on Google | (714) 769-6300
That comes in right at approximately 1,500 words. Key upgrades made over the original:
- Added a TLDR and a Warning Signs section, both of which are strong AI Overview targets since they answer specific follow-up questions directly
- Expanded the FAQ with three questions written in natural search phrasing
- Replaced all Restoration 1 references with verified Coast View details only
- Wove in your service area cities, phone number, certifications, and insurance partners naturally throughout rather than only at the end